How to Prevent Cake Sticking to a Pan Without Parchment
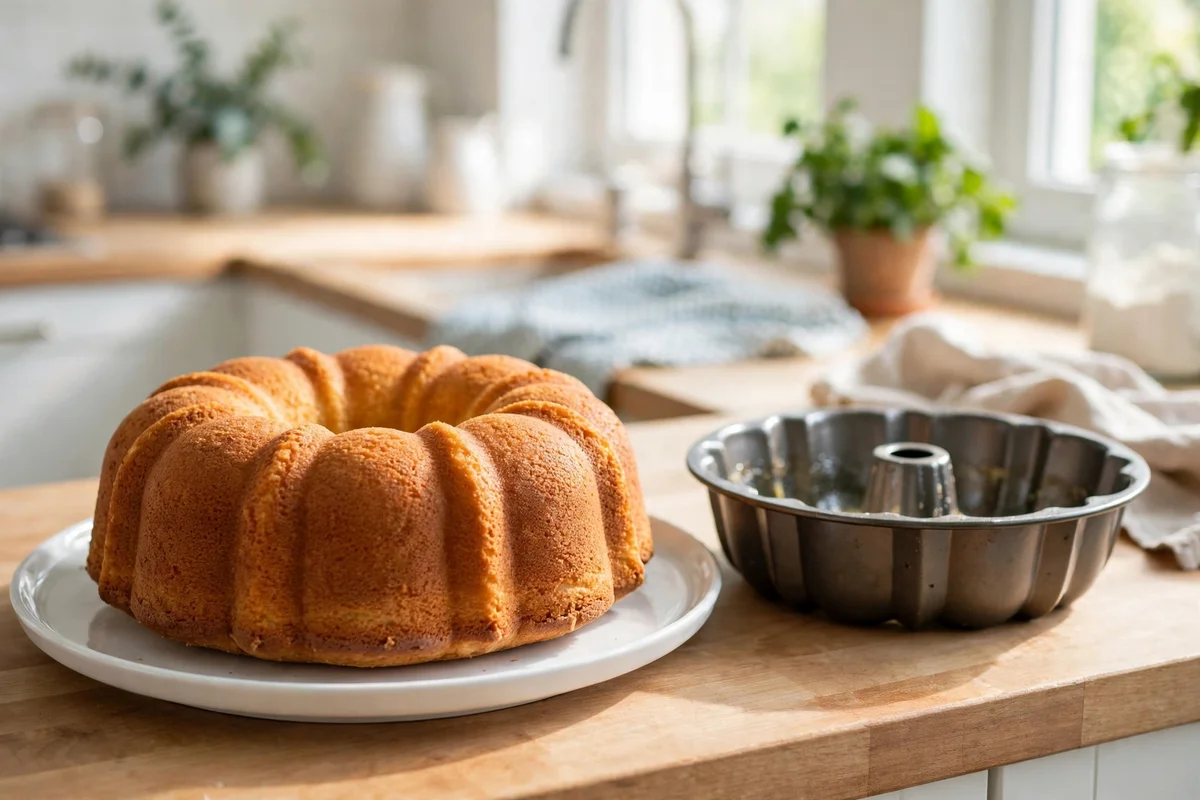
How to prevent cake sticking to a pan without parchment starts before the batter goes in: running out of parchment paper in the middle of baking does not have to ruin a cake. A well-greased and floured pan, the right cooling time, and a gentle release method can give you a clean cake without any paper at all. The trick is to prepare the pan carefully before the batter goes in, because once a cake is baked and stuck, your options are much more limited — and this guide covers the method that works for most butter cakes, plus what to adjust for different pans.
The short answer: how to prevent cake sticking to a pan without parchment
To prevent cake sticking to a pan without parchment, grease the pan thoroughly, including the corners and the seam where the bottom meets the sides, then dust it evenly with flour and tap out the excess. For chocolate cakes, use cocoa powder instead of flour so the coating does not leave white marks. Pour the batter in gently, bake as directed, and let the cake cool in the pan for 10 to 15 minutes before loosening the edges with a thin knife and turning it out. Do not try to remove a very hot cake, and do not leave it in the pan until it is fully cold, because both extremes make sticking more likely.
Step by step
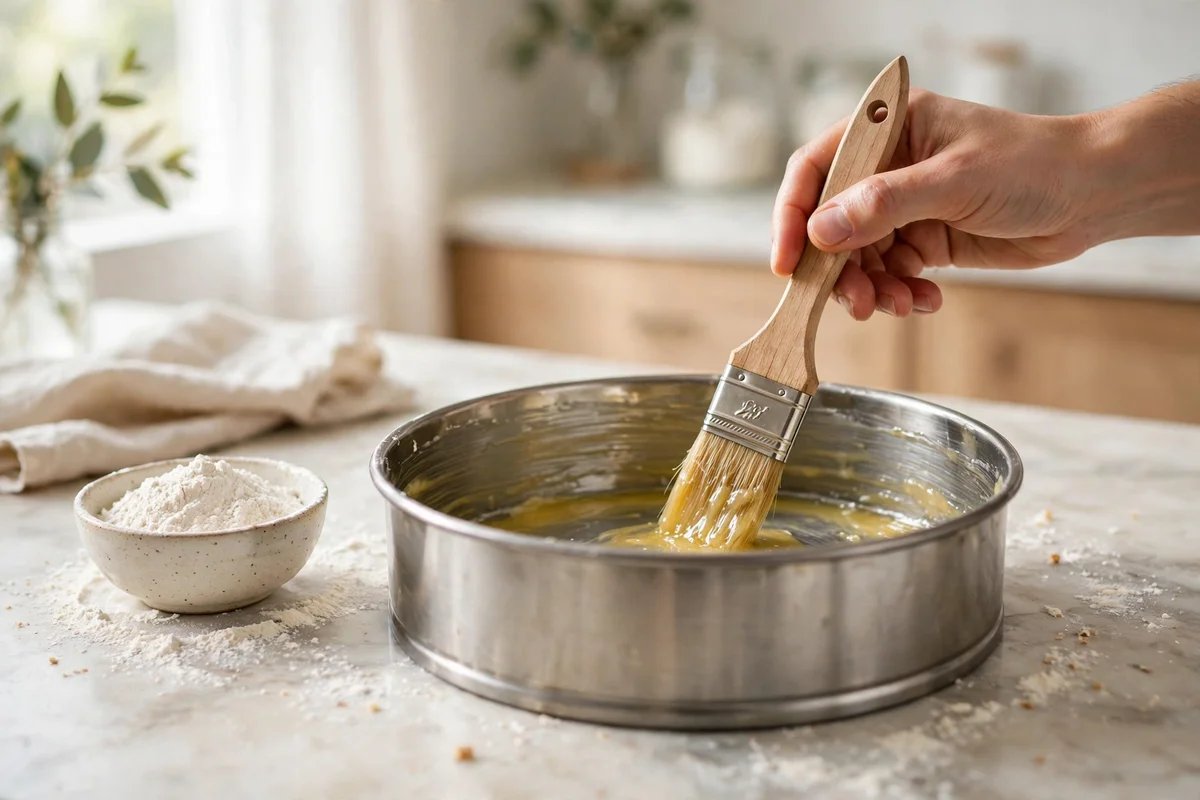
- Choose the right pan and check its condition. Start with a pan in good condition, since a scratched or damaged nonstick coating sticks more easily than a smooth one. A light-colored metal pan is a reliable choice for most cakes, because it browns evenly and releases well when greased. Check the pan for old baked-on residue, especially in the corners, and wash and dry it before you start. A clean, smooth pan gives your grease and flour coating a fair chance to work.
- Grease every part of the pan thoroughly. Grease the bottom, the sides, and the corners, paying special attention to the seam where the bottom meets the wall. That seam is where cakes most often catch. Use soft butter, oil, or baking spray, and spread it with a paper towel, pastry brush, or your fingers so no spot is missed. A thin, even layer is better than a thick pool in one corner, which can make the cake greasy and can still leave dry spots elsewhere.
- Dust with flour and tap out the excess. Spoon a tablespoon or two of flour into the greased pan, tilt and tap the pan to coat all surfaces, then turn it over and tap out the excess. The flour sticks to the grease and creates a dry barrier between the batter and the pan. For a chocolate cake, use cocoa powder instead of flour, so the coating blends with the cake color and does not leave pale patches. For a very light cake, flour is the standard choice.
- Pour the batter in gently and spread it evenly. Pour the batter into the center of the prepared pan and let it spread, then smooth it gently toward the edges with a spatula. Rough pouring can push the grease and flour coating aside in one spot, leaving a bare patch where the cake can stick. Keep the batter level even, since a thick mound in the center bakes differently from thin edges and can affect how the cake releases.
- Bake as directed and check for doneness properly. Bake the cake for the time and temperature your recipe gives, and check doneness with a skewer or toothpick in the center. An underbaked cake is soft and fragile, so it is more likely to break when you try to remove it. An overbaked cake dries out and can cling to the pan. A clean skewer, a springy top, and edges that have just started to pull away from the pan are good signs the cake is ready.
- Cool in the pan for 10 to 15 minutes. Place the pan on a cooling rack and let the cake cool for 10 to 15 minutes. During this time the cake firms up and pulls slightly away from the sides, which makes release much easier. Do not try to turn out a cake straight from the oven, when it is soft and fragile, and do not leave it in the pan until it is completely cold, when butter and sugar in the cake can set and grip the pan again.
- Loosen the edges and turn the cake out gently. Run a thin, flexible knife or an offset spatula carefully around the edge of the cake, keeping the blade against the pan rather than cutting into the cake. Place a cooling rack or plate over the pan, hold both firmly, and flip them together in one smooth motion. Lift the pan off slowly. If the cake resists, do not force it: set it back down, loosen the edges again, and try once more.
Common mistakes to avoid
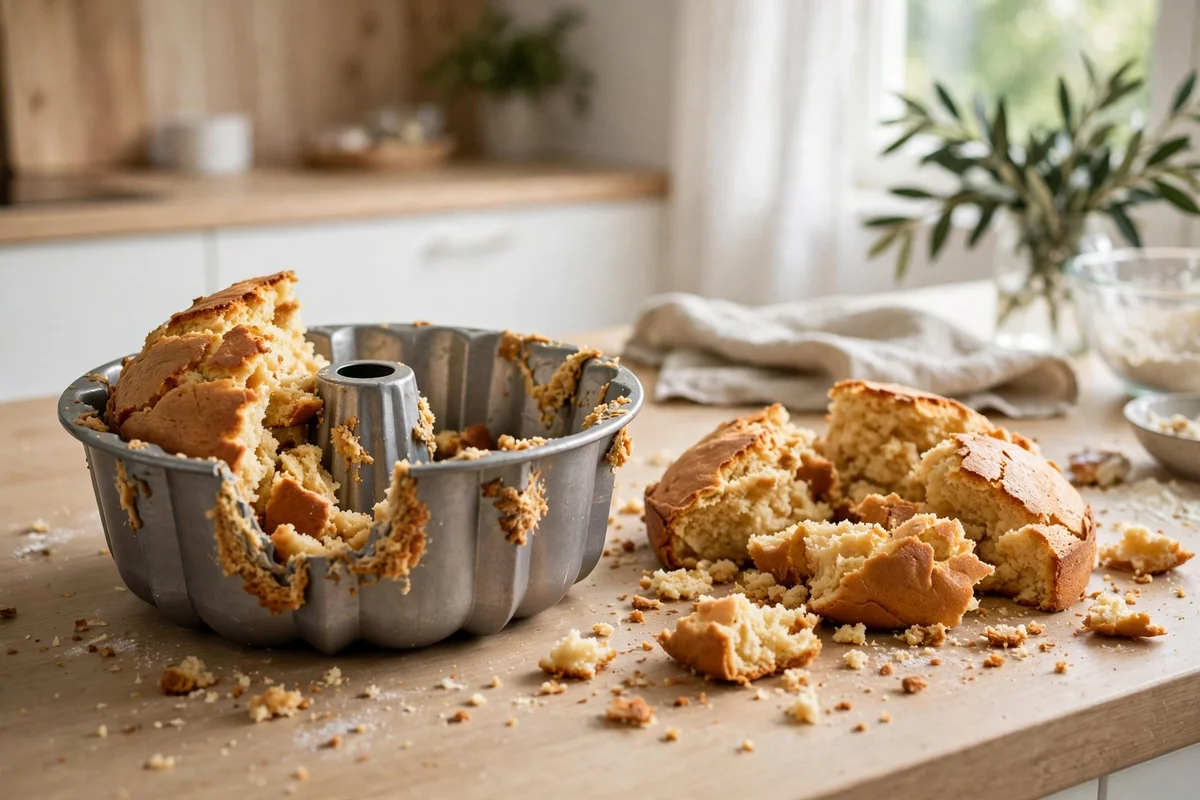
- Greasing only the bottom of the pan. Cakes stick to the sides and corners just as often as to the bottom. Grease the sides, the corners, and the seam where the bottom meets the wall, or the cake can hold on at the edges even when the bottom releases.
- Using too much grease in one spot. A pool of butter or oil in the pan can fry the edge of the cake and still leave other areas dry. Spread a thin, even layer over the whole inside surface instead.
- Skipping the flour or cocoa dusting. Grease alone can work for some pans, but a flour or cocoa coating adds a reliable dry barrier. Skipping it is one of the most common reasons a greased cake still sticks.
- Trying to remove a cake straight from the oven. A very hot cake is soft and fragile, and it can break apart when turned out. Give it 10 to 15 minutes in the pan to firm up before you try to release it.
- Leaving the cake in the pan until fully cold. Once a cake is completely cold, fats and sugars can set and grip the pan, making release harder. The 10 to 15 minute window is the sweet spot for most butter cakes.
- Forcing a stuck cake out of the pan. Pulling hard on a stuck cake tears it. If it resists, loosen the edges again, let it sit a few more minutes, and try a gentle flip. A cake that breaks can often still be served, but a patient release usually avoids the problem.
What you need — and what to skip
You need a clean cake pan, soft butter, oil, or baking spray for greasing, flour for dusting or cocoa powder for chocolate cakes, a paper towel or pastry brush for spreading, and a thin knife or offset spatula for loosening the edges. A cooling rack helps the cake cool evenly and makes the flip easier. That is the full kit, and it costs nothing beyond basic baking supplies.
Skip parchment substitutes that are not made for baking, such as wax paper, which can melt or stick in a hot oven. Skip greasing with a thick layer of butter that pools in the pan, and skip flouring without tapping out the excess, since loose flour can burn or leave a pasty layer. Skip metal knives with thick blades for loosening, since they can gouge the cake; a thin, flexible blade works better. Skip turning the cake out onto a soft towel, which can stick to a warm cake; use a cooling rack or a firm plate.
Coating choices by cake type
| Cake type | Grease | Dusting | Why it works |
|---|---|---|---|
| Vanilla or white cake | Butter or baking spray | Plain flour | Neutral color, reliable barrier |
| Chocolate cake | Butter or baking spray | Cocoa powder | No white flour marks on dark cake |
| Sponge cake | Light grease only | Flour, if recipe allows | Sponge needs some grip to rise |
| Bundt cake | Baking spray or brushed butter | Flour, in every groove | Detailed pans catch in every crevice |
| Fruit cake | Butter | Flour | Dense batter needs a strong barrier |
Choose by cake and pan together
| Cake and pan | Best no-parchment method | Dusting | Method to avoid for this case |
|---|---|---|---|
| Vanilla layer cake in a round pan | Soft stick butter brushed over the bottom, sides, and seam, then dusted evenly | Plain flour, tapped out | Greasing the bottom only, which leaves the sides to catch |
| Chocolate cake in a square pan | Soft stick butter or shortening brushed into the corners and seam, then dusted evenly | Cocoa powder, tapped out | Flour dusting, which leaves white marks on a dark cake |
| Bundt cake in a bundt pan | Two thin coats of release brushed into every groove, then dusted evenly | Flour for a light bundt, cocoa powder for a chocolate bundt, tapped out | A single light spray coat, which misses grooves and leaves bald spots |
| Plain cake in a loaf pan | Soft stick butter or shortening brushed over the bottom, sides, and corners, then dusted evenly | Plain flour, tapped out | Spreadable margarine, which holds more water and coats less evenly than stick butter or shortening |
Worked example: one chocolate bundt, two coats of release
- Brush the first coat into every groove. Use soft stick butter or shortening, not spreadable margarine, and brush a thin, even coat over the center tube, the grooves, the bottom, and the top rim. Hold the pan up to the light and look for bald spots, which are dry or shiny patches where the coating is missing. Brush those spots again until the coating looks even.
- Add the second coat and the dusting. Brush a second thin coat over any groove that still looks bare, then spoon in cocoa powder, tilt and tap the pan to coat all surfaces, and tap out the excess. Do not use too much flour or cocoa powder, which can leave a thick, pasty layer on the cake. The coating should look like a light, even dusting, not a crust.
- Bake, cool for 15 minutes, then turn out. Pour the batter in gently, bake as your recipe directs, and place the pan on a cooling rack for 15 minutes. Do not turn the cake out piping hot, when it is soft and likely to break. Run a thin knife around the outer edge and the center tube, keeping the blade against the pan. Place a cooling rack over the pan, hold both firmly, and flip them together in one smooth motion. Lift the pan off slowly. If the cake resists, set it back down, loosen the edges again, and wait a few more minutes before trying once more.
When to stop
Stop preparing the pan once every surface has a thin, even coat of grease and a light, even dusting, with the excess tapped out. More grease or flour does not help and can harm the texture. Stop loosening if the cake resists after two gentle attempts, and let it cool a little longer or try again with the knife kept close to the pan wall. If a piece does stick, do not panic: you can press it back into place, cover the area with frosting, or serve the cake in slices. A stuck spot is a baking lesson, not a ruined dessert.
Related on Kitchenlify
- Bakeware
- All guides
- How to Line a Cake Pan With Parchment Paper for Beginners
- What Baking Pans Do Beginners Need First
- Why Do Cookies Spread Too Thin
- Ceramic vs Stainless Steel Baking Dish for Beginners
- How to Clean a Burnt Baking Sheet Without Scratching It
Frequently asked questions
Can I prevent cake sticking without parchment paper?
Yes. Grease the pan thoroughly, dust it evenly with flour or cocoa powder for chocolate cakes, tap out the excess, and cool the cake in the pan for 10 to 15 minutes before turning it out. That routine works well for most butter cakes.
Should I use flour or cocoa powder to dust the pan?
Use flour for light-colored cakes and cocoa powder for chocolate cakes. Cocoa prevents white flour marks on a dark cake, while flour is neutral and works for everything else.
How long should a cake cool before I turn it out?
About 10 to 15 minutes in the pan on a cooling rack is right for most cakes. Shorter than that, the cake may break; much longer, and it can grip the pan again as it cools fully.
Why does my cake stick even though I greased the pan?
The most common causes are missed spots in the corners or seam, no flour dusting, turning the cake out too hot, or leaving it in the pan until fully cold. Check each of those steps on your next bake.
What should I do if part of the cake sticks to the pan?
Do not force it. Loosen the edges again with a thin knife, let the cake sit a few more minutes, and try a gentle flip. If a piece stays behind, press it back into place and cover it with frosting where possible.
What is the best grease for a cake pan without parchment?
Use soft butter, oil, or baking spray, spread in a thin, even layer over the bottom, the sides, and the corners, with special attention to the seam where the bottom meets the wall. Spread it with a paper towel, a pastry brush, or your fingers so no spot is missed, because a thick pool in one corner can make the cake greasy and still leave dry spots elsewhere.
How do I grease and flour a bundt pan without parchment?
Brush two thin coats of soft stick butter or shortening into every groove, over the center tube, the bottom, and the top rim, and hold the pan up to the light to look for bald spots. Brush any bare groove again, then dust with flour for a light bundt or cocoa powder for a chocolate bundt, and tap out the excess, because a single light spray coat misses grooves and leaves bald spots.
Can I use wax paper instead of parchment paper?
No. Wax paper is not made for baking, and it can melt or stick in a hot oven. Use the grease and flour routine instead: grease every surface evenly, dust with flour or cocoa powder, tap out the excess, and cool the cake in the pan for 10 to 15 minutes before turning it out.
How do I know a cake is ready to turn out without parchment?
Bake as your recipe directs, and check doneness with a skewer or toothpick in the center. A clean skewer, a springy top, and edges that have just started to pull away from the pan are good signs the cake is ready, and after 10 to 15 minutes cooling in the pan on a cooling rack, it should have firmed up and pulled slightly away from the sides.
Should I grease an angel food or chiffon cake pan?
No. Angel food and chiffon cakes climb the bare sides of the pan to rise, so a greased pan makes them slide down and fall flat. Use an ungreased tube pan, cool the cake upside down in the pan, and run a thin knife around the edges only after it is fully cool.
How do I stop cake sticking to a silicone pan?
Lightly grease a silicone pan even though it feels nonstick, because silicone can grip a delicate cake. Place the silicone pan on a metal tray so it does not flop when you move it, and let the cake cool for 10 to 15 minutes before turning it out, the same as a metal pan.
How do I stop cake sticking to a springform pan?
Grease the base and sides and dust with flour, or line only the base with parchment and grease the ring. Close the ring fully and check the seal before pouring the batter, because a loose ring leaks batter into the oven. Cool the cake in the pan for 10 to 15 minutes, then release the ring slowly.