How to Store Kitchen Gadgets in a Small Kitchen

How to store kitchen gadgets in a small kitchen starts with one drawer, not another organizer: in a small kitchen, the drawer that holds a mandoline, a box grater, kitchen shears and a vegetable peeler usually ends up as a pile. And that pile is exactly where cuts, dull blades and lost peelers happen. This guide does not give you another list of organizers to buy. It gives you one worked drawer layout for those four awkward tools, in order from front to back. Each one has its own place, its blade is guarded or separated, and nothing sharp is buried under something heavy.
The short answer: how to store kitchen gadgets in a small kitchen
Put the peeler at the front, because you reach for it most often, then the shears, then the grater, then the mandoline at the back, with a guard or a divider between every blade. Measure the drawer first, line it with a non-slip mat, keep each blade covered or facing away from your hand, and never pile a heavy tool on top of a sharp one. If a tool does not fit in that order with room to close the drawer without pressing down, it belongs somewhere else — not squeezed on top.
Step by step
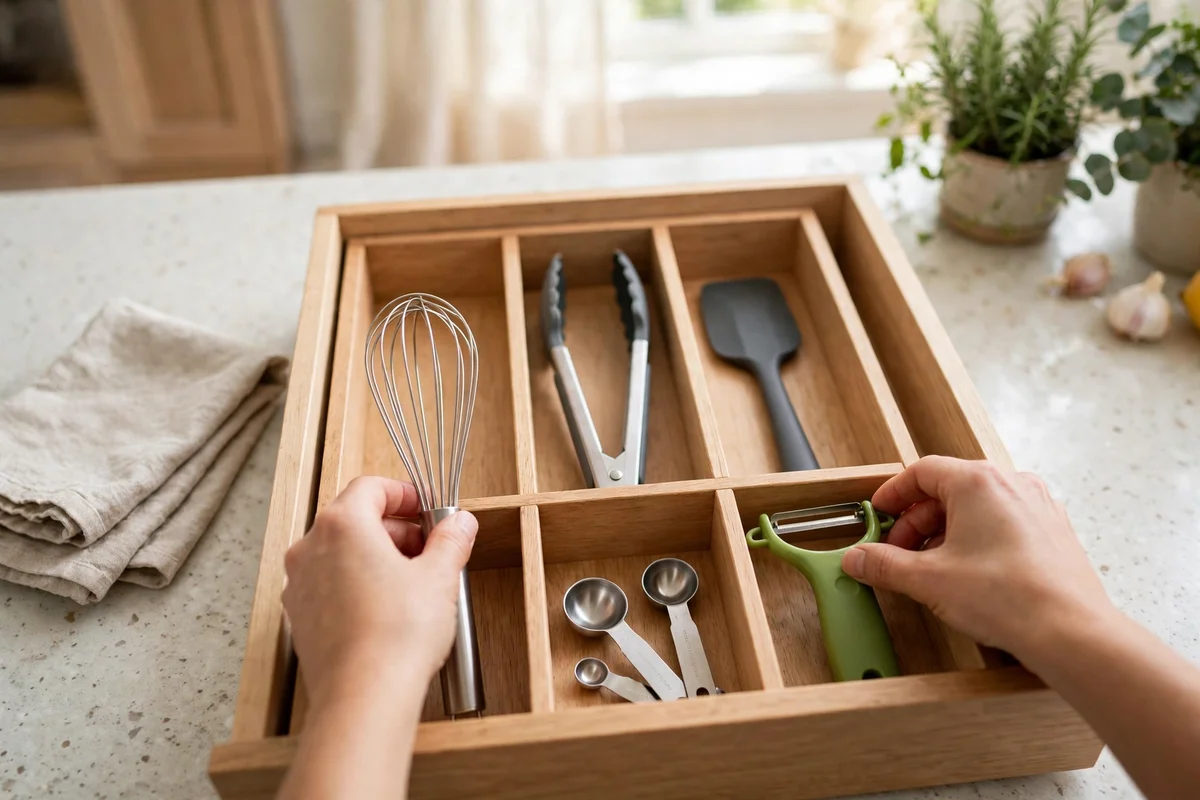
- Measure the drawer first, before you move anything. Take everything out of the drawer, then measure the inside length, width and depth with a tape measure, and note the height when the drawer closes, because a mandoline on its side may be taller than you expect. Write the three numbers down, and check the largest tool against them: the mandoline, the grater and the shears each need to lie flat or on their side without the drawer above pressing on them. This one step prevents the most common failure, which is buying a divider that does not fit, or forcing a layout that only works until you try to close the drawer. If the drawer is shallower than the grater is tall when stored on its side, store the grater flat instead, and adjust the order below to suit the depth you actually have.
- Clean the drawer and lay a non-slip mat. Wipe the empty drawer clean and dry, then cut a non-slip liner to fit the bottom, so tools do not slide forward every time you open the drawer and end up in a heap at the front. A sliding drawer is a safety problem, not just an untidy one, because a mandoline blade that slides toward your hand when you pull the drawer open can cut you before you have even picked anything up. The mat also protects the drawer bottom from scratches and stops a metal grater from rattling against the drawer sides. Do not use a thick padded liner that eats up depth you need for the mandoline; a thin, grippy mat is enough, and it should be easy to lift out and wash.
- Put the peeler at the front, blade guarded. The peeler goes at the very front of the drawer, because it is the tool you grab most often and the smallest of the four, so it should be the first thing your hand meets. Slide its blade into a blade guard if it has one, or place it in its own narrow compartment with the blade facing down and away from where your fingers land when you reach in. Keep the peeler alone in its section, not loose on top of the shears, because a loose peeler slides under other tools and its blade is easy to catch with a fingertip. When you open the drawer, you should be able to lift the peeler by its handle without touching any blade at all, and close the drawer again without the peeler shifting.
- Place the shears next, closed and with blades covered. Behind the peeler, lay the kitchen shears flat and fully closed, with the blades pointing toward the back of the drawer and away from the front edge where your hand enters. If your shears came with a blade cover or a sheath, use it every time; if they did not, place them in their own divided section so no other tool rests across the blades and the handles stay easy to grip. Never store shears open, even for a second, because an open pair in a drawer is a trap for the next person who reaches in, and never let the mandoline or grater sit on top of them, which can dull the blades and make the handles hard to lift. Test it: close the drawer, open it again, and check that the shears have not moved and are still closed.
- Set the grater in the middle, on a flat, stable side. The box grater or flat grater goes in the middle of the drawer, lying flat if it is a box grater, or flat with its grating surface facing down onto the mat if it is a flat grater, so the sharp surface is not facing up toward your hand. Give it its own section with a divider on at least one side, so it cannot slide forward onto the shears or backward onto the mandoline, and leave a finger-width gap around it so you can lift it by its frame or handle, not by dragging a hand across the grating surface. Do not stack the peeler or the shears inside a box grater to save space, even though it looks efficient, because anything stored inside a grater will be scratched and will dull the grating surface, and you will cut yourself fishing it out. If your grater is too tall to lie flat under the drawer above, store it in a deeper drawer and move the mandoline plan below to this drawer instead.
- Store the mandoline at the back, guarded and never loose. The mandoline goes at the back of the drawer, because you use it least often of the four, and because it has the largest and sharpest blade, so it should be the farthest from the hand that opens the drawer. Always store it with its blade guard fitted, or with the blade covered by its safety holder, and lay it flat with the blade facing down, never blade-up and never loose where it can shift when the drawer moves. Put a divider between the mandoline and the grater so the two sharp surfaces never touch, which keeps both blades sharper and stops the mandoline from sliding forward onto the grater. If your mandoline does not have a guard, keep it in its own closed section or a separate slim container inside the drawer, and treat it as the one tool you never grab without looking first.
- Test the layout by opening, closing and reaching blind. With all four tools in place, close the drawer fully, open it again, and reach for each tool in turn, starting with the peeler, without looking closely at first, the way you will on a busy evening. Each tool should lift out by its handle, without you touching a blade, without another tool coming with it, and without anything having shifted into a different section. Then close the drawer and check that nothing is pressing against the drawer above or rattling when you pull it. If the mandoline has moved, add a divider or a tighter mat; if the peeler has slid under the shears, give it a narrower section. A layout that only works when you arrange it carefully is not a layout at all, so adjust now, while the drawer is still empty of everything else.
Common mistakes to avoid
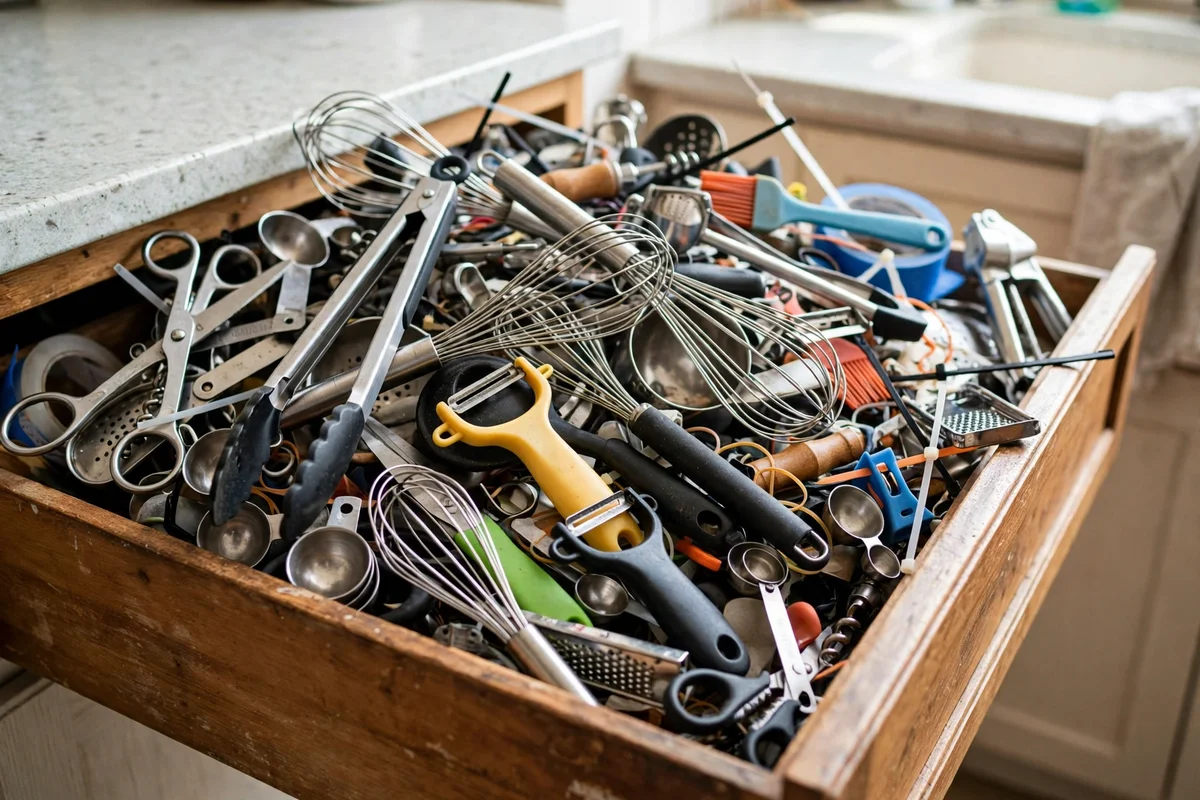
- Piling a heavy tool on top of a sharp blade. Stacking the grater or mandoline on top of the shears or peeler dulls blades, bends thin peeler blades and makes the bottom tool hard to lift safely. Fix: give every bladed tool its own section, and keep the heaviest tool at the back, on the drawer bottom, not on top of anything sharp.
- Storing the mandoline blade-up or without a guard. A blade facing up in a drawer is a cut waiting for the next reach-in, and an unguarded mandoline slides and nicks everything it touches. Fix: fit the guard every time, store the blade facing down, and add a divider so the mandoline never touches the grater.
- Letting tools slide loose with no mat or dividers. Without a mat and dividers, every drawer pull turns the layout back into a pile, and blades end up where your fingers expect handles. Fix: use a thin non-slip mat and at least two dividers, then test by opening and closing the drawer twice.
- Putting the least-used, sharpest tool at the front. If the mandoline is at the front, your hand meets the sharpest blade first, every time you open the drawer for a peeler. Fix: order by use and risk together — peeler front, shears next, grater middle, mandoline back — so frequency and safety point the same way.
- Storing food or small items inside a box grater. Spoons, peelers or packets tucked inside a grater scratch the grating surface and force you to reach into a sharp box to retrieve them. Fix: keep the inside of the grater empty, and give small items their own section elsewhere in the drawer.
- Skipping the measure-first step and forcing the fit. A divider that is too wide, a mandoline that is too tall, or a drawer that only closes if you press down will all fail within a week, and the tools will go back to a pile. Fix: measure length, width and depth before you arrange anything, and move any tool that does not fit flat to a deeper drawer.
What you need — and what to skip
You need a tape measure, a thin non-slip drawer liner, and two or three drawer dividers or small open trays that fit the drawer you measured — nothing more to start. A blade guard for the mandoline and a cover for the shears, if your tools came with them, are worth using every time. A small open tray is useful for the peeler so it stays in its own front section.
Skip a tall, lidded organizer that does not fit the drawer depth, skip magnetic strips inside a shallow drawer where blades sit too close to your hand. Skip storing the mandoline in a wall rack above the counter if you have small children reaching up. Skip buying a whole drawer system before you have tested the front-to-back order with the dividers you already have; the order matters more than the organizer, and an expensive insert in the wrong order is still a pile.
The worked drawer layout, front to back
Here is the exact layout this guide recommends for one standard small-kitchen drawer. Read it from front to back, exactly as your hand meets the tools when you open the drawer, and check each row against the drawer you measured in step one.
| Position in drawer | Tool | How it sits | What must not go on top |
|---|---|---|---|
| Front | Peeler | Blade guarded, in its own narrow section, handle easy to grip | Nothing — it is the lightest tool and the first you grab |
| Second | Kitchen shears | Closed, blades covered, pointing to the back of the drawer | Grater or mandoline — weight dulls blades and hides handles |
| Middle | Grater | Flat, grating surface down, divider on at least one side | Peeler, shears or packets — nothing stored inside a box grater |
| Back | Mandoline | Guard fitted, blade down, divider between it and the grater | Nothing — the sharpest tool sits on the drawer bottom, alone |
When to stop — and when to move a tool out
Stop arranging when every tool lifts out by its handle without touching a blade, the drawer closes without pressing down, and nothing has shifted after you open and close it twice. That is the finished layout, and it does not need more organizers to be safe. Move a tool out of this drawer if it only fits by removing its guard, if the drawer will not close without force, or if a blade ends up facing up because there is no room to lay it flat. In that case, a deeper drawer, or a separate slim container on a shelf, is safer than a forced fit. Never store a mandoline blade-up, even temporarily, while you decide where it goes; keep the guard on and set it aside, blade down, until its place is ready.
Related on Kitchenlify
- Kitchen Tools & Gadgets
- How to Choose a Mandoline Slicer for Beginners
- How to Sharpen Kitchen Shears at Home
- How to Clean a Garlic Press Properly
- All guides
What about electric gadgets?
Electric gadgets need the same rules, with two extras: keep the cord wrapped loosely, never pulled tight, and keep the attachments with the gadget in a labeled bag, so you never lose the blade or the hook. Store the heaviest gadget lowest, keep blades covered, and never hang an electric gadget by its cord, because the cord pulls loose over time. A hand mixer, an immersion blender, and a small chopper all fit the same drawer or low cabinet as the four hand tools in this guide. Each one has its own spot, and nothing sharp is buried under something heavy.
Frequently asked questions
Where should a mandoline go in a kitchen drawer?
At the back of the drawer, with its blade guard fitted and the blade facing down, separated from the grater by a divider. It is the sharpest tool and usually the least used of the four, so it should be farthest from your hand when you open the drawer.
Can I store a grater and a mandoline in the same drawer?
Yes, if each has its own section and a divider between them so the sharp surfaces never touch. Do not stack one on top of the other, and do not store anything inside a box grater, because that dulls the grating surface and risks a cut when you reach in.
What is the best order for gadgets in a small kitchen drawer?
Front to back by how often you use them and how sharp they are: peeler first, then closed shears, then the grater, then the mandoline at the back. That way the tool you grab most often is the easiest and safest to reach.
Do I need to buy dividers to organize a gadget drawer?
Dividers help a lot, but the order matters more than the organizer. Start with a non-slip mat and two or three dividers or small trays that fit the drawer you measured, test the layout, and only then decide whether a different insert would help.
Is it safe to store kitchen shears loose in a drawer?
No, not loose and not open. Store shears fully closed, with blades covered if possible, in their own section with blades pointing to the back, so no other tool rests across them and your hand meets the handles first.
Where should the peeler go in a gadget drawer?
Put the peeler at the very front of the drawer, because it is the tool you grab most often and the smallest of the four. Slide its blade into a blade guard if it has one, or place it in its own narrow section with the blade facing down and away from where your fingers land when you reach in. Keep it alone in its section, so you can lift it by its handle without touching any blade.
What should I do if my gadget drawer will not close?
Do not press down or force the drawer shut. Check whether a tool is too tall, whether a guard has come off, or whether a blade is facing up because there is no room to lay it flat. Move any tool that does not fit flat, with its guard on, to a deeper drawer or a separate slim container on a shelf, rather than squeezing it on top of another tool.
How do I keep gadgets from sliding around in a drawer?
Line the drawer with a thin, non-slip mat cut to fit the bottom, and use dividers to give each tool its own section. The mat stops tools from sliding forward into a heap every time you open the drawer, which is a safety problem when a sharp blade slides toward your hand. After arranging the drawer, close it and open it twice to check that nothing has shifted.
Can I store a peeler or shears inside a box grater to save space?
No. Anything stored inside a box grater will be scratched and will dull the grating surface, and you will risk a cut when you reach in to fish it out. Keep the inside of the grater empty, give the grater its own section with the grating surface facing down, and give small items their own section elsewhere in the drawer.
How do I store electric gadgets, such as a hand mixer or immersion blender?
Keep electric gadgets in a low cabinet or on a shelf, with the cord wrapped loosely, attachments in a labeled bag, and blades covered. Store the heaviest gadget lowest, keep the attachments with the gadget so they do not get lost, and never hang an electric gadget by its cord, because the cord pulls loose over time.
How many kitchen gadgets does a beginner need?
Four tools cover most cooking: a peeler, a grater, kitchen shears, and a mandoline, which is the set this guide lays out. Add one electric gadget only when you use it weekly, such as a hand mixer for baking or an immersion blender for soups, because a gadget bought before you need it is just a gadget stored.