How to Organize a Small Pantry Without Renovation
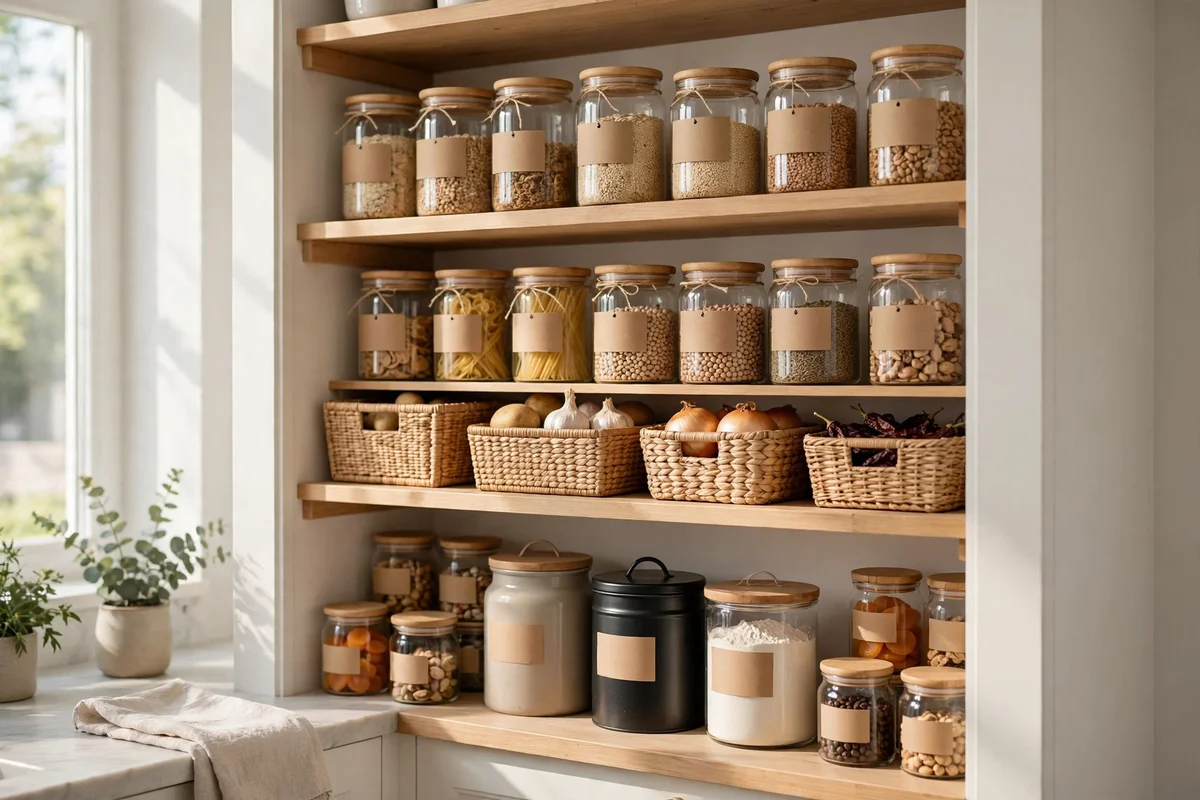
Organizing a small pantry without renovation needs no new shelves, drilled brackets, or remodel. A small pantry needs fewer items in it, a clear place for each group of food, and storage you can lift out and take with you when you move. This guide to how to organize a small pantry without renovation keeps every recommendation removable, with no drilling and no screws, so renters and homeowners alike can follow it without changing the pantry itself.
The short answer
Start by taking everything out and keeping only what you actually cook with. Measure the width, depth, and height of each shelf, plus the door swing and hinge clearance, before you buy anything. Group food by how you cook — everyday cooking, breakfast, baking, snacks, and backstock — and give each group one zone, with everyday items at eye level and heavy items low. Use only removable storage: bins you can lift out, stackable risers that sit on a shelf, and hooks or racks that hang over the door without screws. Test the layout for one week with reused boxes before you spend money on containers, so you learn what actually helps instead of guessing. Anything that needs drilling, screwing, or a fitted pull-out unit is a renovation option, and this guide leaves it out on purpose.
Step by step: how to organize a small pantry without renovation
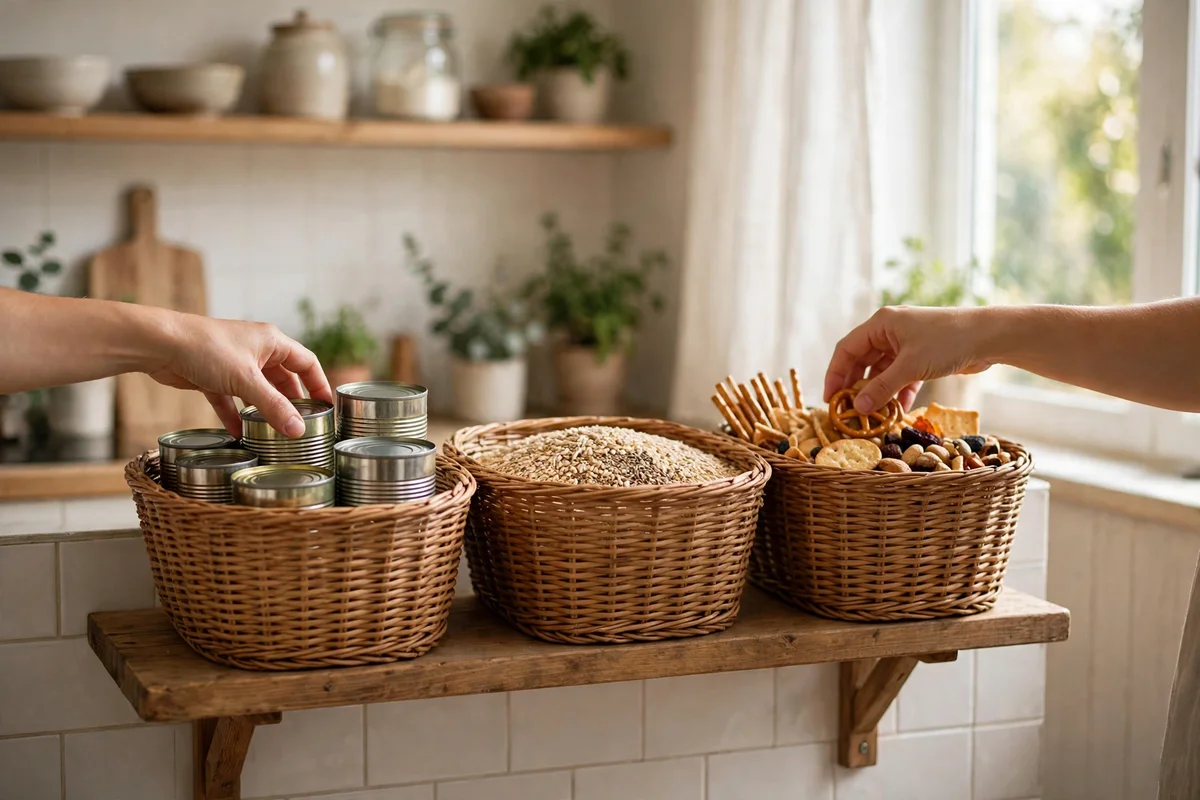
- Take everything out and edit first. Empty one shelf at a time onto a table or counter, and sort food into keep, move elsewhere, and let go. Keep food you cook with at least once a month, food that has not expired, and food you can name a meal for. Move food that belongs somewhere else, such as cleaning supplies or pet food, out of the pantry entirely. Let go of duplicates you forgot you owned, stale items, and ingredients bought for one recipe you never made again. A pantry that holds less is easier to organize than a pantry that holds everything, and no bin can fix a shelf that is simply overfilled.
- Measure every shelf before you buy anything. Measure the width, depth, and usable height of each shelf, and note anything that steals space: a shelf lip, a door frame, a hinge, or a light fixture. Open the door fully and check how far it swings, and whether a door rack would hit a shelf when the door closes. Write the smallest measurement down, not the largest, because a bin that fits on the widest shelf may not fit on the narrowest one. Heavy items also matter here: check whether a shelf feels solid or bows, and plan to keep the heaviest food low, where a weak shelf is under less strain and a falling item cannot hurt anyone.
- Group food by how you cook, not by food type alone. Sort kept food into groups that match real cooking: everyday cooking such as oils, canned tomatoes, and rice; breakfast such as cereal and oats; baking such as flour and sugar; snacks; and backstock, which means extras of things you already use. Cooking groups work better than strict food types because you reach for a whole group at once when you make dinner, instead of hunting across five shelves for one meal. If a group is too big for one zone, split it by frequency — the everyday version of the group at eye level, and the extra stock in a separate backstock zone.
- Assign one zone per shelf area, with everyday items at eye level. Give each group a single home: everyday cooking at eye level where you can see and reach it without stretching, breakfast near the front of one shelf, baking together on one shelf, snacks where children or guests can reach them safely if that applies, and backstock high or at the back. Keep only one of each everyday item at the front, with the spare behind it, so you can see at a glance when you are running low. Leave a little empty space on each shelf. A shelf packed edge to edge looks tidy for a day and becomes a pile again the first time you put groceries away in a hurry.
- Add only removable, no-drill storage, one problem at a time. Add a bin, riser, or turntable only where you can name the exact problem it solves: a bin that lifts out for deep shelves, a riser so a second row is visible, a small turntable for a dark corner, or an over-door rack that hangs without screws for light items. Choose storage that lifts out for cleaning, that you can remove without tools, and that leaves no marks when you move out. Do not buy a full matching set on day one. Buy one piece, live with it for a week, and only then decide whether the next problem is worth solving with another piece.
- Set up a use-first zone and a backstock limit. Put food that must be used first — the oldest can, the open bag, the item closest to its date — at the front of its zone, and put new purchases behind it, so older food is always used before newer food. Set a simple backstock limit for your household, such as one spare of each everyday item, and stop buying extras beyond that limit until the spare is used. This one habit prevents the most common small-pantry problem: three half-used bags of the same thing, none of them at the front, while a new bag is bought again because the old ones could not be seen.
- Test the layout for one week with reused boxes, then adjust. Before buying containers, use clean reused boxes, small baskets you already own, or sturdy shopping bags folded to shelf height as stand-in bins for one full week of normal cooking and grocery shopping. Notice which bins you lift out daily, which zones get messy, and which items end up on the counter because they have no good home. After the week, keep what worked, move what did not, and only then buy containers in the sizes your test proved you need. A week of testing costs nothing and prevents the most expensive pantry mistake: beautiful containers in the wrong size.
Common mistakes to avoid
- Buying containers before measuring. Fix: measure width, depth, height, door swing, and hinge clearance first, and buy only for the smallest shelf the container must fit. A container that fits nowhere useful is worse than no container at all.
- Drilling or fitting pull-out hardware in a no-renovation plan. Fix: skip drilled brackets, screwed rails, and fitted pull-out units entirely, and use lift-out bins, freestanding risers, and over-door racks that hang without screws instead. If a product needs a drill, it does not belong in this plan.
- Mixing no-pantry cart advice into a small-closet pantry plan. Fix: if you have a closet pantry with a door and shelves, plan for those shelves and that door only. A rolling cart, a bookshelf pantry, or a wall zone is a different plan for a kitchen with no pantry at all, and mixing the two leaves both half done.
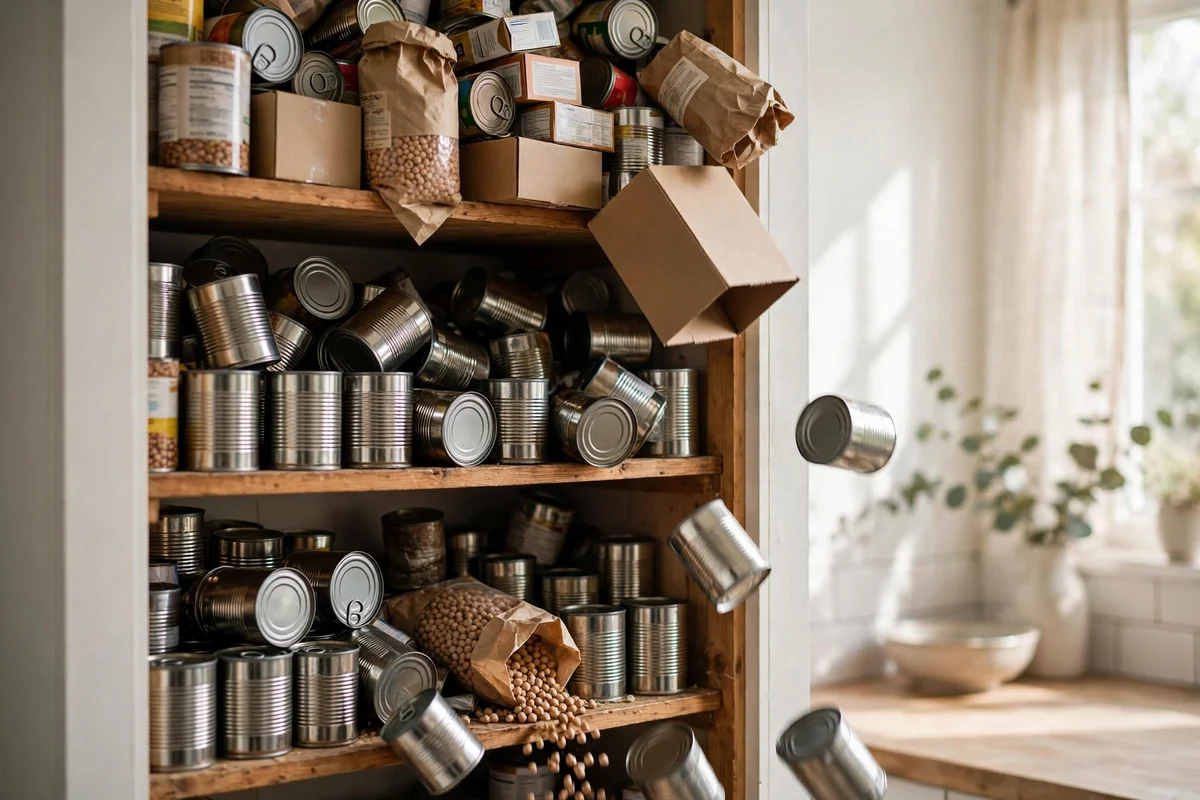
- Putting heavy items high or on a weak shelf. Fix: keep cans, jars, and bulk bags low and near the front of a solid shelf, and keep light items such as cereal boxes and snack bags high. Heavy items high up are hard to lift safely and strain shelves over time.
- Hiding food behind food with no use-first order. Fix: always put new purchases behind older ones in the same group, and keep the item to use first at the front. Without this order, older food is forgotten at the back and wasted.
- Filling every inch so nothing can be put away quickly. Fix: leave breathing room on each shelf and one empty spot for new groceries. A pantry that only works when everything is perfectly arranged will fail on the first busy shopping day.
What you need — and what to skip
You need a tape measure, a pen and paper for measurements, clean reused boxes or baskets for the one-week test, and a few lift-out bins or a freestanding shelf riser only after that test shows a real need. A small over-door rack that hangs without screws can help for light items, and labels help if more than one person puts groceries away. That is the whole kit for a renter-friendly pantry.
Skip drilled brackets, screwed-in rails, fitted pull-out shelf units, and any organizer that must be fixed to the wall or shelf to work. Skip a full matching container set bought before measuring, and skip decanting everything on day one: decant only the foods you use daily and whose original packaging is torn or hard to pour. Skip a pantry system designed for a walk-in pantry, because it will not fit a small closet pantry and will leave you with storage you cannot use.
Worked example: one small pantry, measured, zoned, and tested
Picture a small closet pantry with three shelves, a door that opens outward, and a shelf depth that hides cans at the back. The measurements are taken first: each shelf is wider than it is deep, the middle shelf has the most headroom. The door clears the shelves by only a small margin, so a deep over-door rack would hit the shelf edge when the door closes. That one clearance check rules out the deep rack before any money is spent, and a slim over-door rack for light packets is chosen instead, or no door rack at all if even that is tight. The food is then edited: two stale baking items, three duplicate sauces, and a bag of specialty flour with no planned meal are let go, which frees nearly a full shelf on its own. Everyday cooking — oil, canned tomatoes, rice, pasta, and stock — goes on the middle shelf at eye level, with cans in a single lift-out bin so the back row can be pulled forward in one motion. Breakfast goes on the top shelf in a shallow reused box, baking on the lower shelf where heavy flour and sugar sit low and stable, and backstock is limited to one spare of each everyday item at the back of its own zone. For one week, the bins are reused boxes, not new containers. By day three, the cook learns that the snack box is opened twice a day and deserves the front of the middle shelf, not the top shelf. The baking shelf is fine without a riser because only four items live there. At the end of the week, only two purchases make sense: one lift-out bin for cans and one small riser for the breakfast shelf, both in sizes the test proved. The pantry is not bigger, and nothing was drilled or fitted, but every item now has a visible home, and putting groceries away takes minutes instead of a reshuffle.
Decision table: pantry problem, no-renovation fix, and what to avoid
| Problem | No-renovation fix (removable, no-drill, no-screw) | What to avoid |
|---|---|---|
| Deep shelves hide food at the back | One lift-out bin per group, pulled forward to reach the back row | Fitted pull-out shelf hardware that must be screwed in |
| Dark corner you cannot see into | Small freestanding turntable for light jars, or a bin you lift out and set on the counter | Stacking jars two deep with no way to reach the back row |
| Door will not close with storage on it | Slim over-door rack for light packets only, after checking hinge and shelf clearance | Deep door racks or screwed door brackets that hit shelves |
| Heavy cans and jars strain a shelf | Heavy items low, on a solid shelf, in a small bin that limits the load | Storing bulk cans high, or overloading one large bin |
| Small items fall over and get lost | Shallow bin or reused box that corrals one group together | Loose small packets with no container at all |
| New food buries older food | Use-first zone at the front of each group; new purchases go behind | Pushing new bags in front of older ones |
When to stop — and when a bigger change is needed
Stop when every group has one visible home, everyday items are reachable without moving three other things, heavy items sit low, and you can put a full grocery bag away without rearranging a shelf. Do not keep adding bins after that point: extra organizers in a small pantry become clutter themselves. If the pantry still cannot hold your everyday food after editing, testing, and zoning, the answer is not another bin — it is a smaller everyday list, a backstock limit of one spare, or moving rarely used items to a different cupboard. A renovation, such as fitted pull-out shelves or rebuilt shelving, is a separate project with its own cost and permission questions, especially in a rental, and it should be decided on its own, not drifted into one organizer at a time.
Related on Kitchenlify
- Storage & Organizers
- How to Organize Deep Kitchen Cabinets for Beginners
- How to Organize a Pantry With Storage Containers
- How to Organise a Kitchen Without a Pantry
- How to Store Dinnerware in Small Cabinets Without Chipping
- All guides
Frequently asked questions
Can I organize a small pantry without drilling anything?
Yes. Use lift-out bins, freestanding risers, turntables that sit on a shelf, and over-door racks that hang without screws. Anything that needs a drill, screws, or a fitted unit is a renovation option, not a no-renovation fix, and this plan leaves it out.
Should I buy matching containers first?
No. Measure first, edit the food down, and test the layout for one week with reused boxes. Buy containers only after the test shows which sizes you actually need, so you do not end up with a matching set that fits nowhere well.
What if my kitchen has no pantry at all?
That is a different plan. A no-pantry kitchen needs a cabinet, cart, or wall zone set up as its pantry, while a small closet pantry needs zones for its own shelves and door. Do not mix the two plans, or neither space will work properly.
Where should heavy cans and jars go?
Low, on a solid shelf, near the front of their zone, in a small bin that limits how much weight is in one place. Heavy items stored high are hard to lift safely and can strain a shelf over time.
How do I stop older food from being forgotten at the back?
Keep a use-first spot at the front of each group, and always put new purchases behind older ones. When the front item is used, the next oldest moves forward, so nothing sits hidden until it goes stale.
How do I measure a small pantry shelf before buying a bin?
Measure the width, depth, and usable height of each shelf, and note anything that steals space, such as a shelf lip, a door frame, a hinge, or a light fixture. Open the door fully and check how far it swings and whether a door rack would hit a shelf when the door closes. Write the smallest measurement down, not the largest, because a bin that fits on the widest shelf may not fit on the narrowest one.
What is the best way to zone a small pantry for everyday cooking?
Give each cooking group one zone: everyday cooking at eye level, breakfast near the front of one shelf, baking together on one shelf, snacks where they can be reached safely, and backstock high or at the back. Keep only one of each everyday item at the front, with the spare behind it, and leave a little empty space on each shelf so groceries can be put away quickly.
Can I use an over-door rack in a small pantry?
Yes, for light items only, if it hangs over the door without screws and clears the shelves when the door closes. Check hinge and shelf clearance first, and choose a slim rack for light packets if a deep rack would hit a shelf edge. If even a slim rack is tight, skip the door rack rather than forcing the door shut.
How do I keep a small pantry organized after the first week?
Keep what the one-week test proved useful, move what did not work, and buy containers only in the sizes the test proved you need. After that, keep the use-first order at the front of each group, keep backstock to one spare of each everyday item, and leave breathing room on each shelf instead of adding more organizers.
How do I keep pantry pests out of a small pantry?
Freeze new flour, rice, and grains for several days before shelving them, store dry food in tightly closed glass, metal, or heavy plastic containers, and wipe shelves clean and dry. Throw away any pack with webbing, clumping, or live insects, sealed in a bag outside, and check the shelf above and below it, because pests spread to nearby packs.
How long can I store food in a small pantry?
Dry goods keep longest in a cool, dark, dry spot: flour and rice about 6 to 12 months in airtight containers, canned food 2 to 5 years, dried pasta about 1 to 2 years, and spices 6 months to a few years depending on form. Check the date, smell and look before using anything old, and use the oldest first.
What if I have no pantry at all?
Use one cabinet, one shelf, or one rolling cart as your pantry, with the same zones in miniature: daily food at eye level, weekly food below, and backup food highest. The full no-pantry setup is covered in the guide How to Organize a Kitchen Without a Pantry, linked below.